Skyscraper
Table of Contents:
Skyscraper
Creating a Skyscraper workstation
Each Skyscraper workstation is attached to a single user, and conversely each user can have up to one workstation. You can create a workstation for yourself, or to create a workstation for someone else you must first create a user for the workstation to be assigned to. Once the user exists, click Skyscraper on the sidebar menu on the left.
Here you will find a list of users that can be assigned workstations:
Notice in the screenshot above that the buttons for Manage Workstation and Launch are grayed out. This indicates that a workstation does not exist for this user.
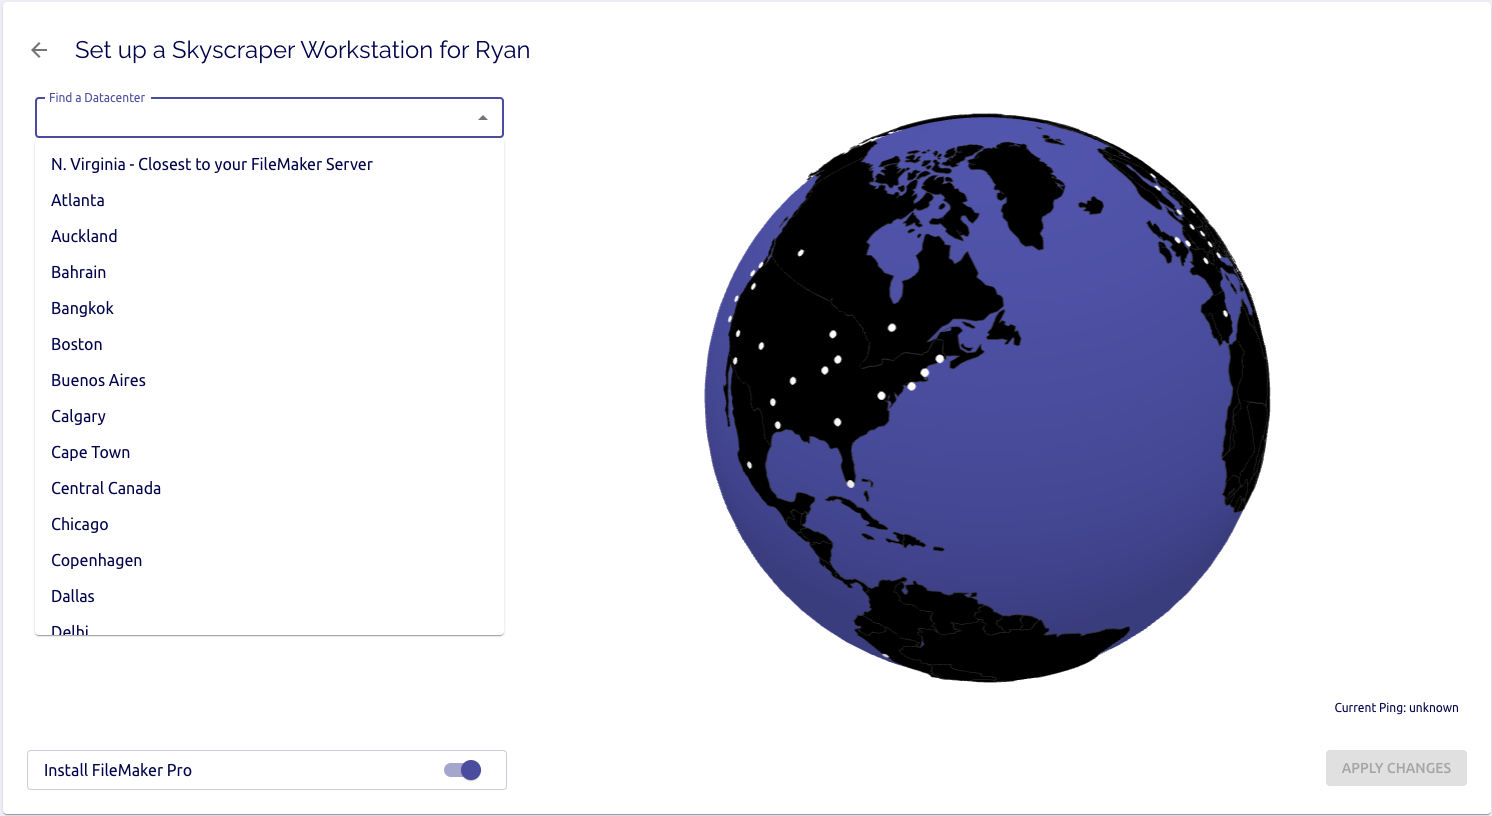
To create a workstation for a user, click the grayed out Manage Workstation button. This will open the wizard to create the workstation:
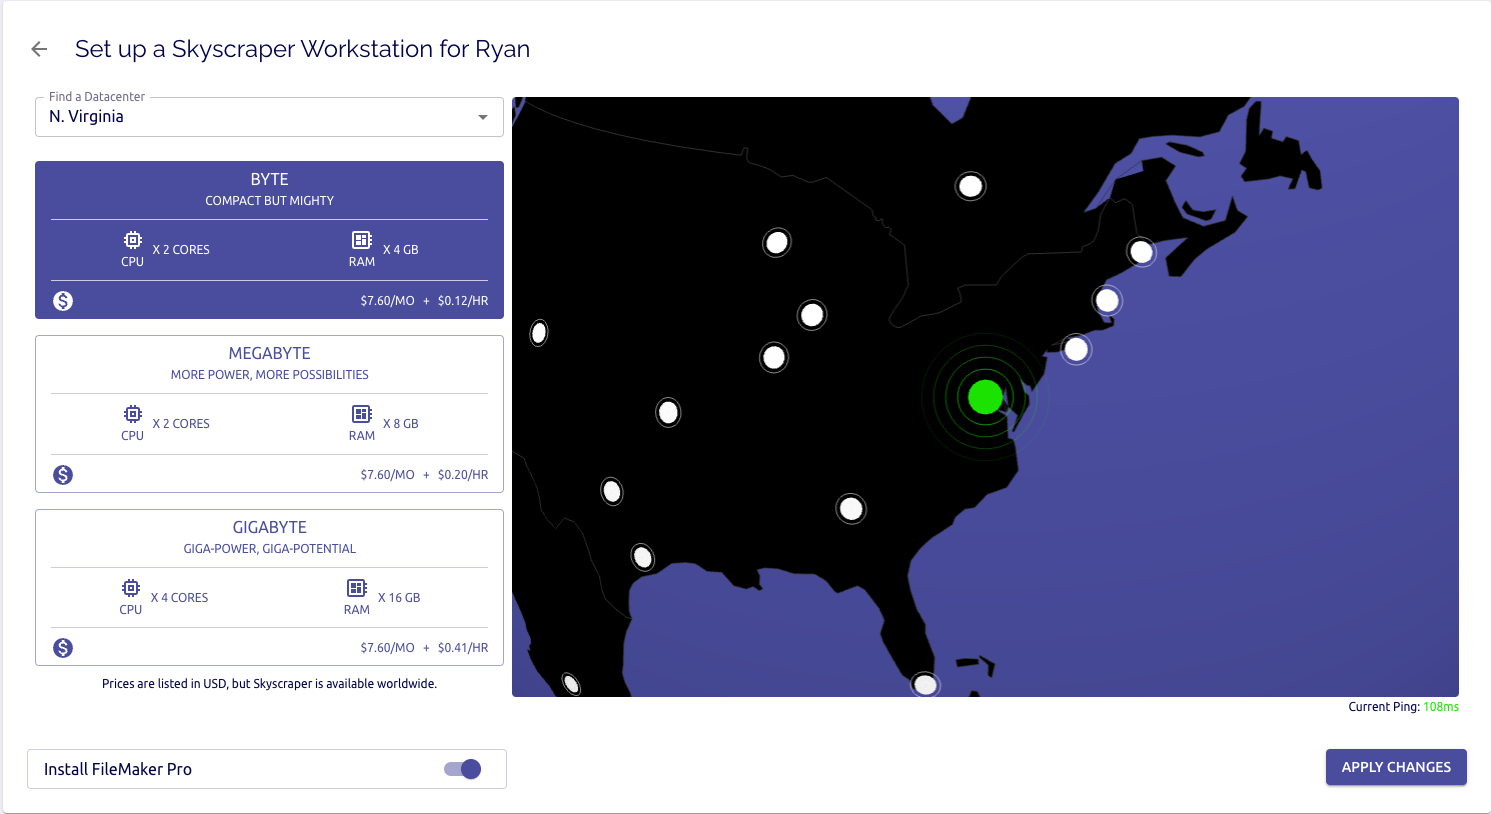
Select a location for the workstation to be created in from the dropdown menu. Once you have selected a location you will be shown 3 tiers of machines: Byte, Megabyte, and Gigabyte.
We highly recommend that you select the same location that your FileMaker Server resides in. This will typically result in the fastest performance between FileMaker Pro on the workstation and the FileMaker Server.
These tiers correspond to the resources allocated to the machine where Byte has the least amount of resources and Gigabyte the most. You will also see the pricing for each tier.
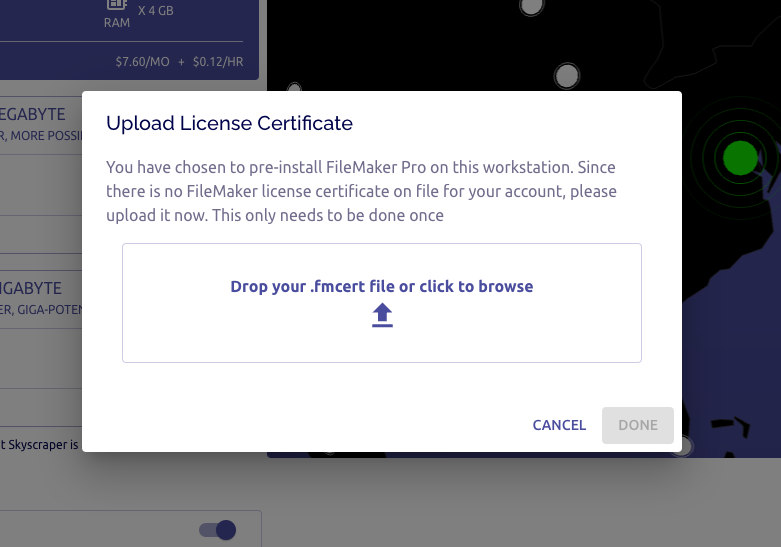
Select the desired size for the workstation, select to install FileMaker Pro or not, and then click Apply Changes.
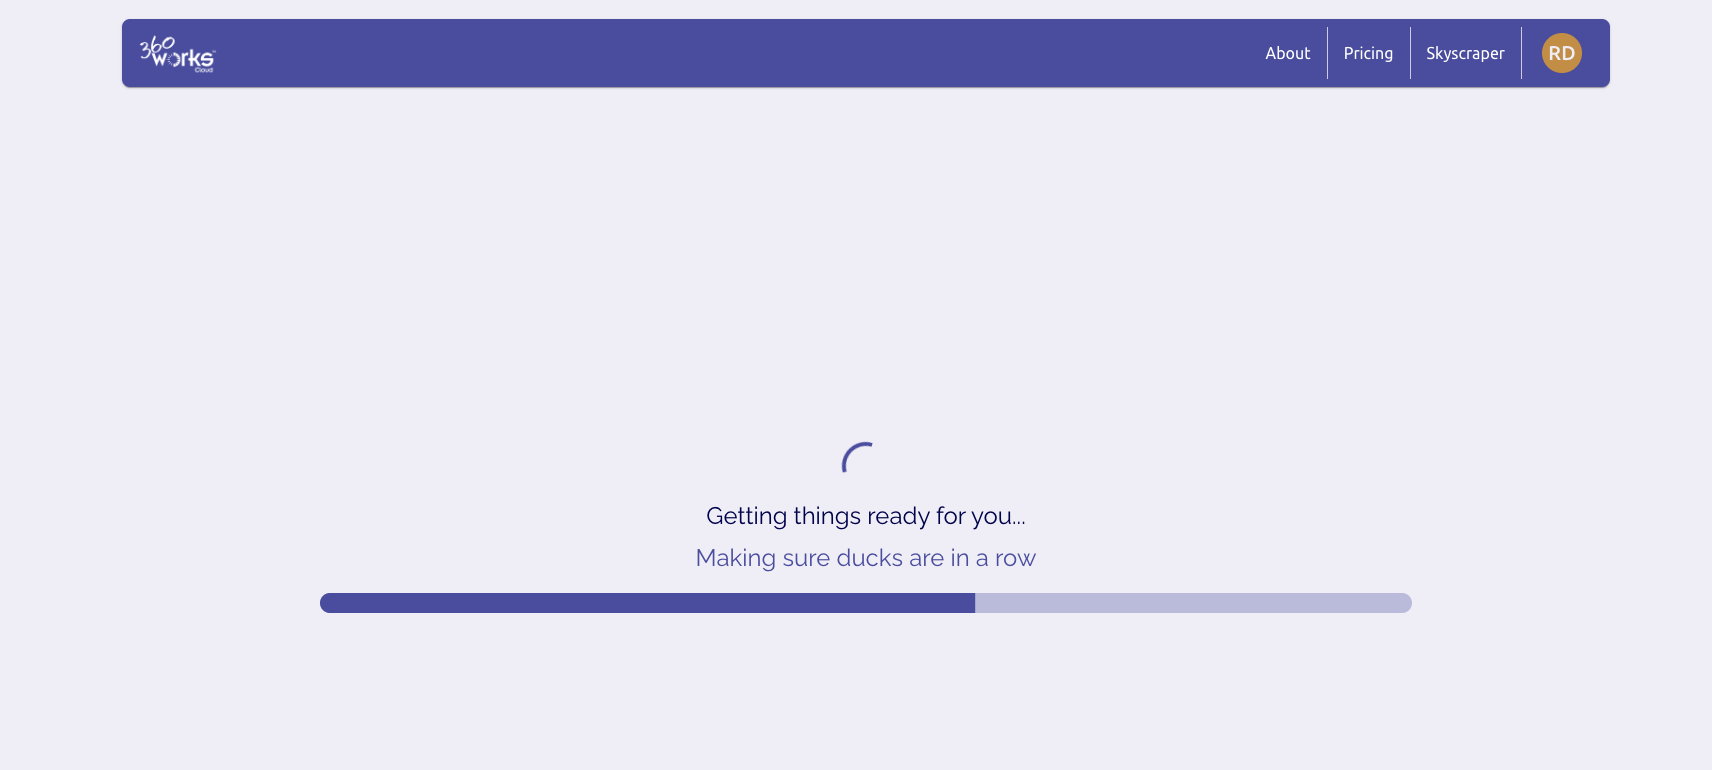
After clicking Apply Changes, you will be taken back to the Skyscraper section of your account. You will see a cycling progress bar in the Manage Workstation column. This indicates that the workstation is being set up.
Setup time is variable, but it should be approximately 10-15 minutes. Once this workstation is available, the user will receive an email with instructions to reset their password and the administrator will receive an email with any price changes.
Back in the Skyscraper menu, the Workstation Type column will now have a tier listed and the Manage Workstation and Launch buttons will be available.
Accessing a Skyscraper workstation
Account Administrator
As an account administrator, you can access any Skyscraper workstation associated with your account. To do so, log into your account and select Skyscraper from the navigation sidebar. Here you will see all workstations in your account. To access the workstation, click the Launch button. This will open a new browser tab and load the Skyscraper session:
Skyscraper User
To access your workstation, open a browser and navigate to 360Works Cloud homepage and click log in on the menu bar. After authenticating you will be connected to your workstation.
Managing a Skyscraper Workstation
As an administrator, you can manage Skyscraper workstations by clicking the button in the Manage Workstation column in the list of Skyscraper users. Clicking the button will open the same setup wizard used when creating the workstation. Here you can change the workstation tier and terminate the instance.
The location for the Skyscraper workstation cannot be changed; if you need to change it you'll need to destroy the workstation. Prior to doing so, be sure to upload or download any local files you need to preserve.
Changing the workstation tier
To change the instance type, select the desired tier and click Apply Changes. Once applied the instance will be unavailable until the changes can be applied. Once completed, the Manage Workstation button will become available again.
Deleting a Skyscraper workstation
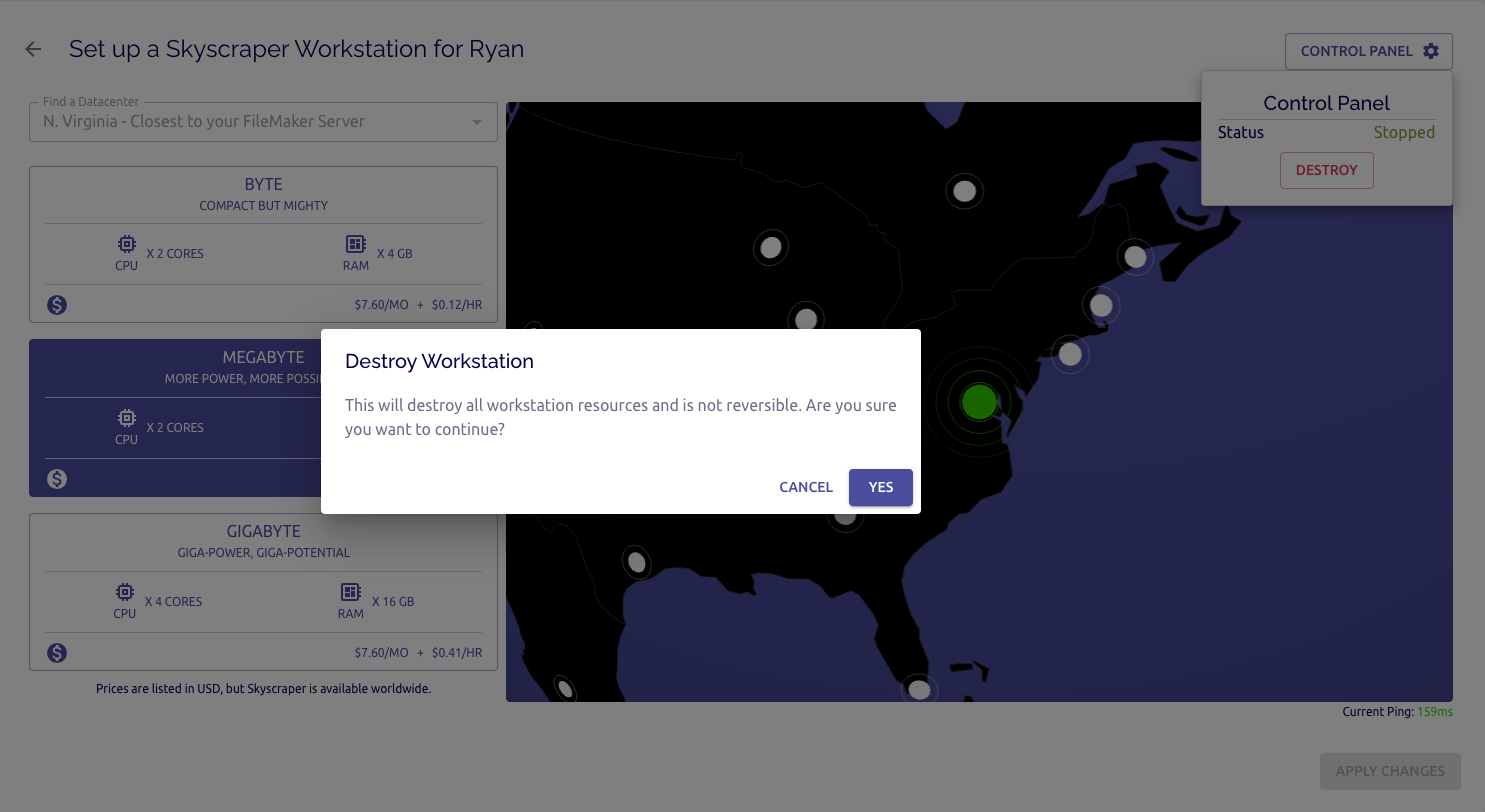
To delete a workstation, click the Control Panel button in the top of the setup wizard and click Destroy. You will be prompted to confirm your selection:
Once confirmed, the machine will be terminated and the Manage Workstation button will be grayed out for that user indicating no workstation exists for them.
File transfers
Skyscraper supports transferring files between the workstation and the local computer.
Copy files to the Skyscraper workstation
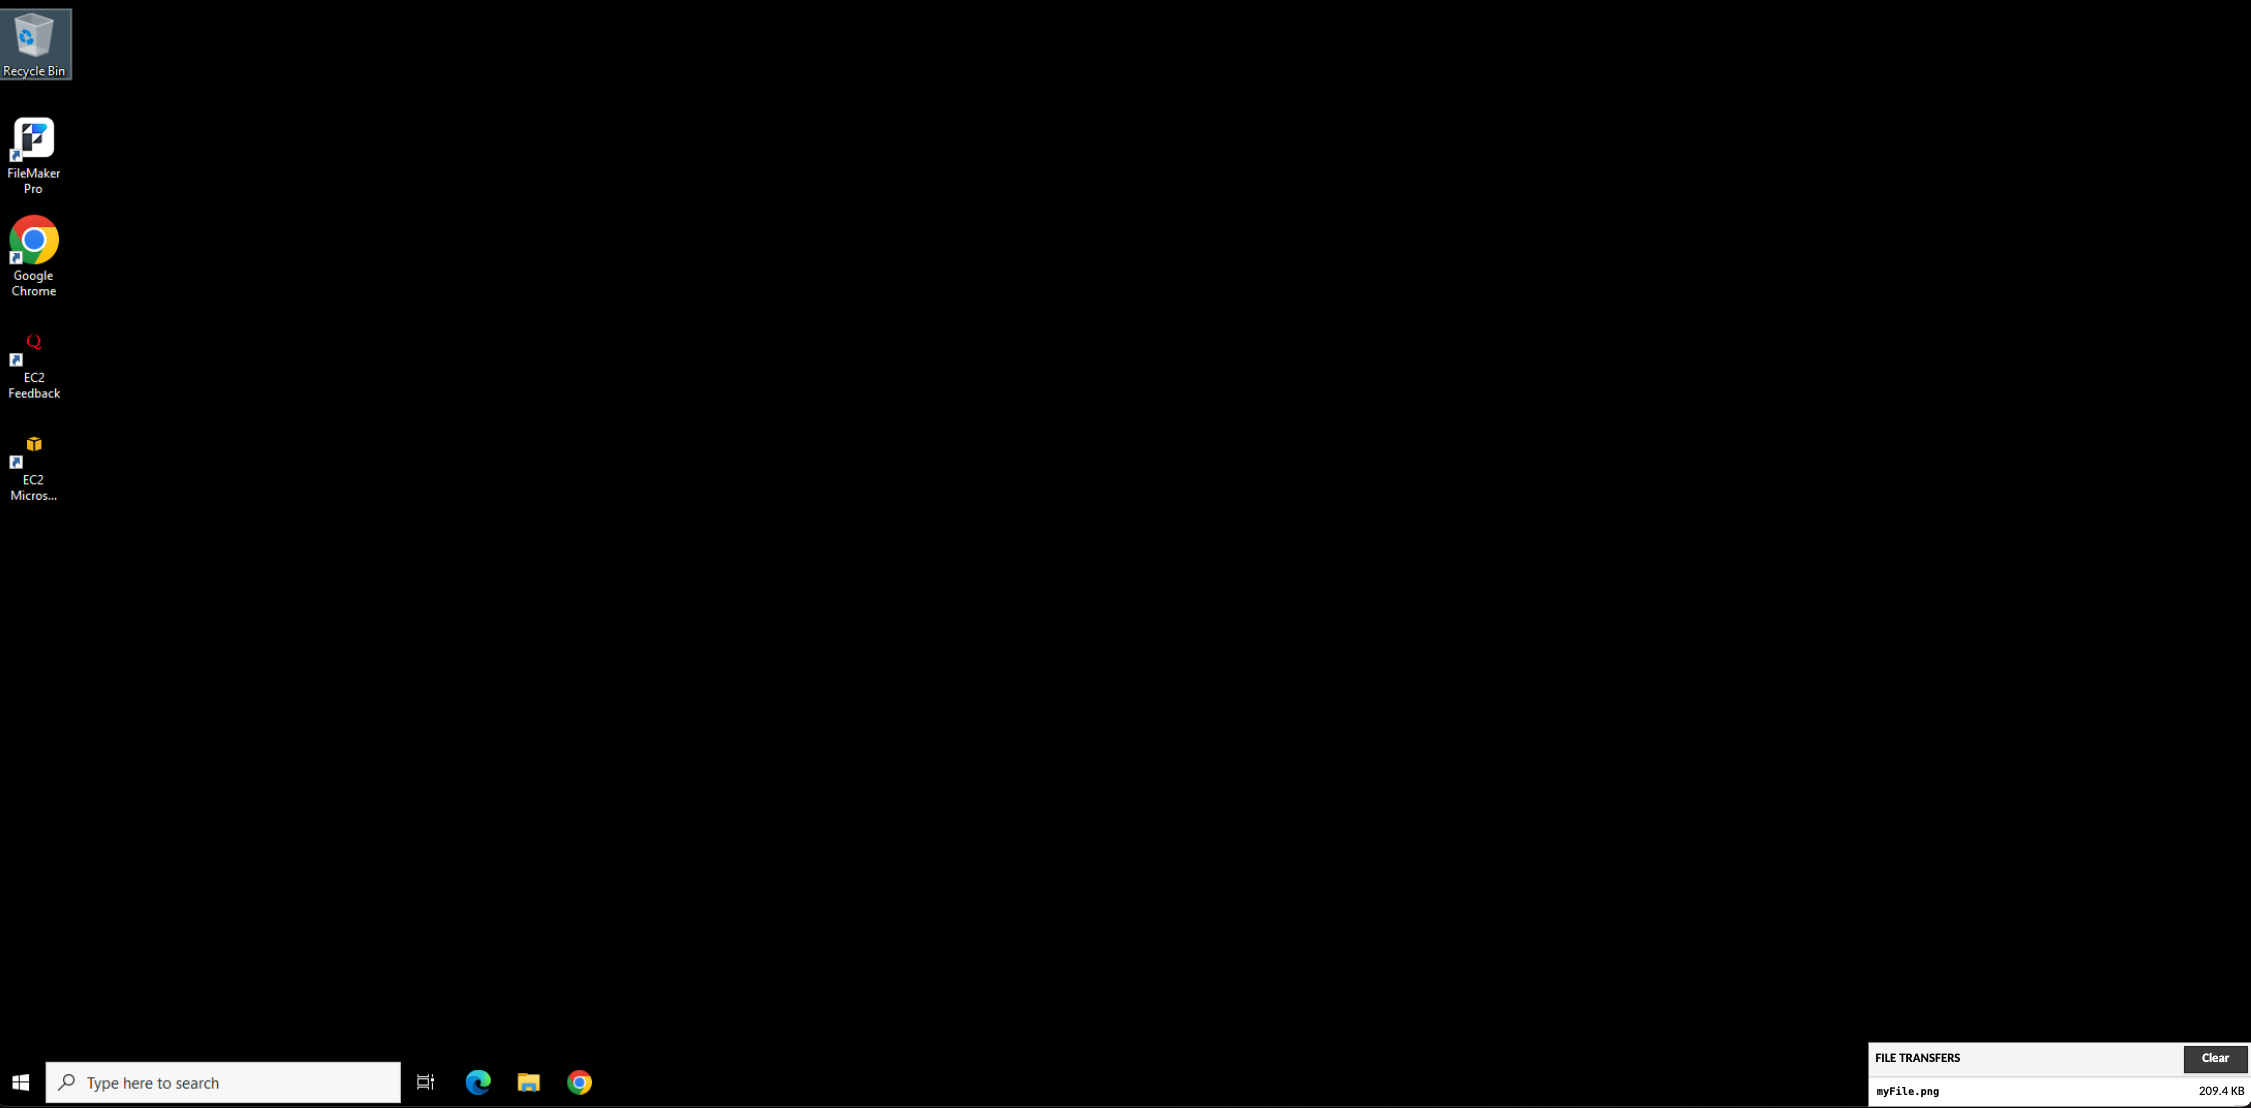
Copying files to the Skyscraper workstation is a simple drag and drop operation. Drag and drop the file onto the browser window and a progress bar will show in the Skyscraper workstation:
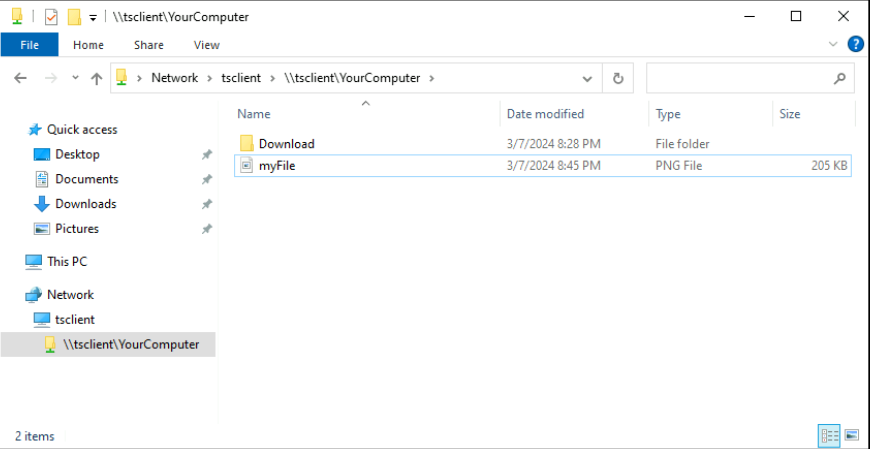
Once the upload is complete, open File Explorer and click on Network->tsclient->\tsclient\YourComputer . The file you uploaded will be in this directory.
Downloading files from the Skyscraper workstation
To download a file from the Skyscraper workstation, open File Explorer to Network->tsclient->\tsclient\YourComputer\Download. Anything put into this directory will automatically download through the browser.
Shutting down
Skyscraper workstations will automatically shut down two minutes after the browser tab is closed. Workstations can also be explicitly shut down through the operating system.
Since Skyscraper costs are determined by usage, it is important that users always close the tab or shut down the workstation when it is no longer being used else charges will continue to incur.
Print support
To print, you'll need to transfer the file you want to print to your local machine and then print the file from there. See the File Transfers section for information on how to transfer files to your local machine.
Touch Devices
Touch devices are supported with Skyscraper workstations, but we have found using a traditional computer is a more optimal user experience. That said, since the Windows desktop is not designed for touch devices, there are a few things that are done differently:
Keyboard support on a touch device
By default, Skyscraper assumes there is a physical keyboard attached to the device being used. If you are using a mobile or touchscreen device that lacks a keyboard, you will need to turn on an on-screen keyboard. This is done by swiping right from the left edge of the screen.
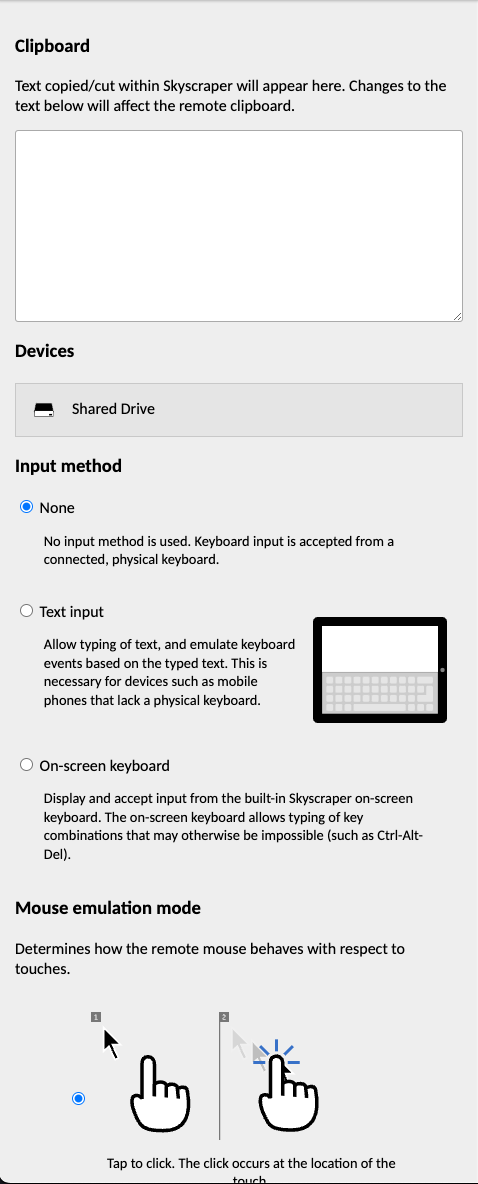
This will open the settings menu:
Under Input method, select either "Text Input" which will use the device's on-screen keyboard or select "On-Screen Keyboard" which will use Skyscraper's built-in on-screen keyboard. Which one you use depends on your preference but using the Skyscraper keyboard will allow you to use key combinations such as Ctrl+Alt+Del that may not be possible with the device's built-in keyboard.
Right-clicking on a touch device
Right-clicking is accomplished through pressing and holding your finger on the screen. If parts of the remote display are off-screen, you can drag your finger around the screen to pan the off-screen parts back into view.

